Welcome to our easy guide on how to replace a fuse in Christmas lights. If you’re experiencing issues with your holiday lights, don’t worry – we’ve got you covered! In this article, we’ll provide step-by-step instructions on how to replace a blown fuse in your Christmas lights. We’ll also explain the importance of unplugging the lights before starting the process to ensure your safety. So let’s get started and get those lights shining brightly again!
Key Takeaways:
- Unplug your Christmas lights before attempting to replace the fuse, to avoid any risk of electrocution.
- Identify the male sockets, as they are the ones that contain the fuses that may need replacing.
- Open the socket door to access the fuses, and carefully remove the old ones.
- Examine the fuses to check for any signs of damage or burnt areas.
- If necessary, replace the fuses with new ones that have the same ratings.
- Carefully close the socket door and plug the lights back in to test if they are working properly.
- If the lights still don’t work, there may be other issues that need troubleshooting.
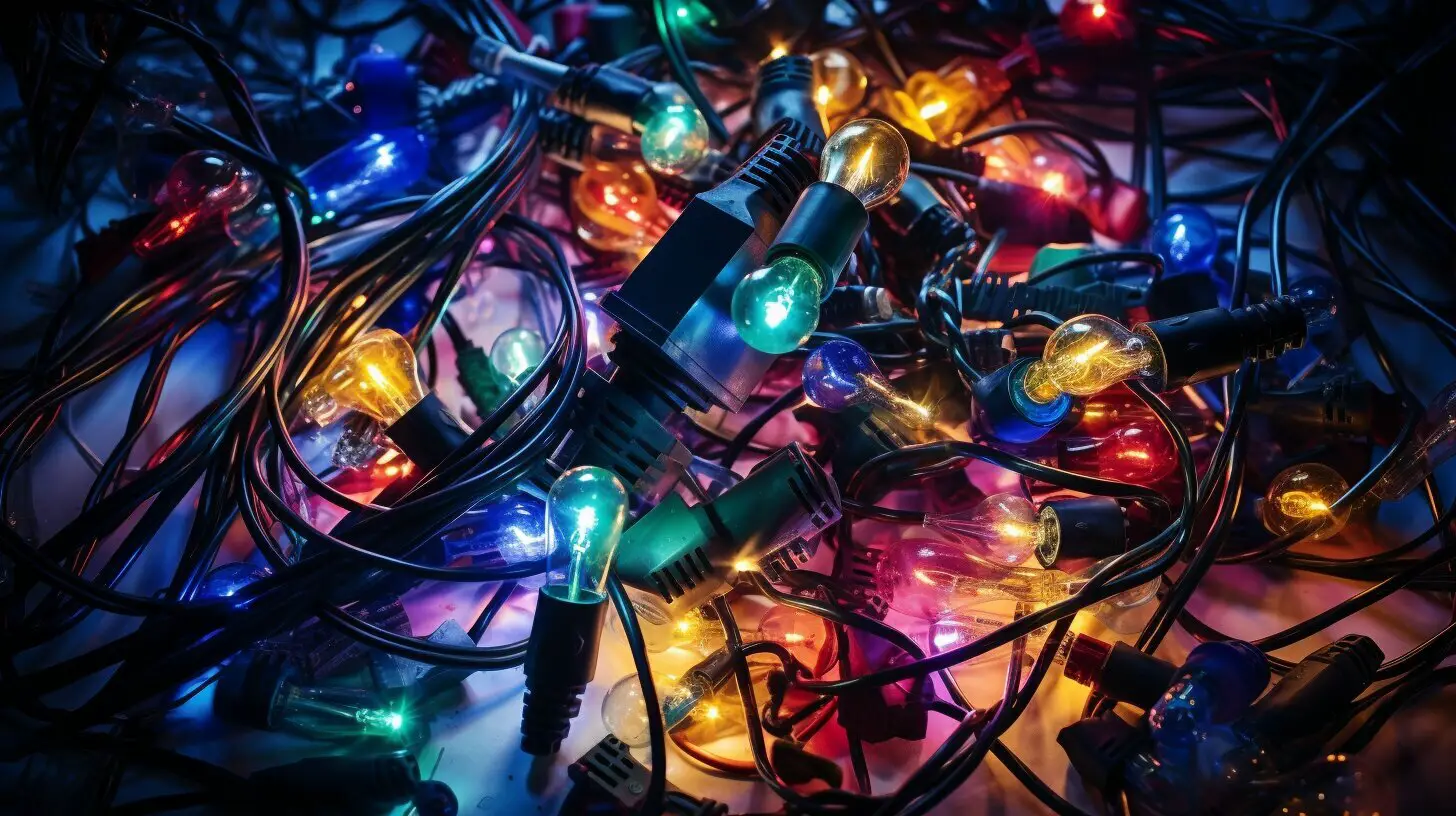
Understanding the Fuse in Christmas Lights
Before we dive into replacing the fuse, let’s take a moment to understand the role of fuses in Christmas lights and how they ensure the safety and functionality of your holiday decorations.
When it comes to Christmas lights, fuses play a crucial role in protecting the lights from electrical damage. Fuses are designed to prevent excessive current from flowing through the circuit and causing a potential fire hazard. They act as a safety mechanism that shuts off the power when there is a surge or overload in the electrical current.
In Christmas lights, the fuses are typically located in the male sockets, which are the plugs with pins. These fuses are responsible for protecting the entire light strand and ensuring that each bulb receives the appropriate amount of electrical current.
By carefully examining the fuses, you can determine if they are burnt or damaged. Burnt fuses will appear dark, indicating that they have blown and need to be replaced. It’s important to replace them with fuses that have the same size, type, and rating to maintain the safety and functionality of your Christmas lights.
Identifying the Fuse Configuration
When inspecting the male sockets, look for the markings on the socket that indicate the location of the fuses. These markings are often accompanied by arrows that point away from the cord and towards the male end of the plug. Sliding doors are used to conceal the fuses and provide access for replacement.
Once you have located the fuses, it’s crucial to handle them with care. Fuses are fragile and can easily break if mishandled. Ensure that the socket door is fully open before removing the old fuses, using a small screwdriver or similar tool to gently pop them out. Take note of their position and orientation for accurate replacement.
Understanding the fuse configuration and how to access and replace them will empower you to troubleshoot and fix any issues with your Christmas lights. In the next section, we’ll guide you through the step-by-step process of replacing the fuses to restore the functionality of your holiday decorations.
| Key Points: |
|---|
| Fuses protect Christmas lights from electrical damage. |
| Fuses are located in the male sockets of Christmas lights. |
| Burnt fuses appear dark and need to be replaced. |
| Handle fuses with care and ensure correct replacement. |
Unplugging and Inspecting the Christmas Lights
To begin the fuse replacement process, it’s crucial to unplug the Christmas lights and carefully inspect them for any potential issues. Let’s walk through the steps together.
Step 1: Unplug your Christmas lights.
Before you open the plug cover, make sure you unplug the lights. It’s always a good idea to unplug anything electrical before you work on it. Be careful not to electrocute yourself.[1]
Step 2: Find the male sockets.
Male sockets are those with plugs as opposed to those that have space to receive plugs. They will be those plugged into other light strands or into the wall.[3]
Step 3: Look at the socket to make sure it is marked and configured correctly.
Marked sockets will usually have an arrow pointing away from the cord and a sliding door that conceals the fuse.[4]
Now that we’ve unplugged the lights and identified the male sockets, we can move on to the next section where we will learn how to open the socket door and remove the old fuses.
| Steps | Summary |
|---|---|
| Step 1 | Unplug the Christmas lights to ensure safety. |
| Step 2 | Identify the male sockets, which are the ones with plugs. |
| Step 3 | Check the marking and configuration of the socket to ensure it is correct. |
“Before you open the plug cover, make sure you unplug the lights. It’s always a good idea to unplug anything electrical before you work on it. Be careful not to electrocute yourself.” – Marvin Woo, Licensed Electrician[1]
Opening the Socket Door and Removing the Old Fuses
Now that you’ve located the male sockets and identified the fuses that need replacing, it’s time to open the socket door and remove the old fuses. Follow these steps carefully.
1. Start by making sure the Christmas lights are completely unplugged from any electrical sockets before proceeding. Safety should always be the top priority when working with electrical components.
2. Once the lights are unplugged, locate the socket door on the male socket. The door is usually marked with an arrow pointing away from the cord and a sliding mechanism that conceals the fuses. Use your fingers or a small screwdriver to open the door, being careful not to apply too much pressure that could damage the socket or fuses.
3. After opening the socket door, you will see the old fuses underneath. Take a moment to observe the fuses and check if they appear burnt or damaged. Burnt fuses may have a dark or discolored appearance. If you’re unsure, you can also use a voltmeter to check their strength.
4. To remove the old fuses, you can use a small screwdriver or any tool that can fit into the fuse socket. Gently pop out the fuses, taking care not to apply too much force that could cause damage. Keep in mind that the fuses are small and delicate, so handle them with care to avoid misplacing or breaking them.
5. Once the old fuses are removed, set them aside and prepare to replace them with new ones. It’s a good idea to have replacement fuses on hand, either from a spare set that came with your lights or purchased from an electronics store.
6. Before inserting the new fuses, double-check their size, type, and rating to ensure they match the specifications of the old ones. Proper fuse replacement is crucial for the safety and functionality of your Christmas lights.
7. When you’re ready to insert the new fuses, carefully place them into the fuse socket. Make sure they are securely seated and properly aligned. Avoid using excessive force that could damage the fuses or the socket.
8. Once the new fuses are in place, close the socket door by sliding it back into its original position. Ensure that the door is fully closed to prevent the fuses from falling out or becoming loose.
Now that you’ve successfully opened the socket door, removed the old fuses, and replaced them with new ones, you’re one step closer to getting your Christmas lights back in working order. In the next section, we’ll guide you through the process of examining and replacing the fuses to complete the fuse replacement process.
Examining and Replacing the Fuses
With the old fuses removed, it’s important to inspect them closely to determine if they are burnt or damaged. In this section, we’ll show you how to examine the fuses and provide guidance on replacing them with new ones.
When examining the fuses, the first thing to look for is any dark or burnt marks. Burnt fuses are easy to recognize, as they will appear dark in color. If you notice any fuses that have obvious dark marks, it means they are burnt and need to be replaced. It’s important to check each fuse individually, as some fuses may be burnt but not show external signs of damage.
If you’re unsure whether a fuse is burnt or not, you can use a voltmeter to check its strength. Simply place the voltmeter on the fuse and check if it registers any current. If the voltmeter does not register anything, it means the fuse is burnt and needs to be replaced.
Once you have determined which fuses need to be replaced, it’s time to find the replacement fuses. Check if your Christmas lights came with spare fuses. These are usually found in little plastic bags taped to the light set. If you don’t have spare fuses, you can try finding them at an electronics store that specializes in Christmas lights or electrical repairs.
| Fuse Replacement Tips |
|---|
|
Once you have the replacement fuses, carefully insert them into the fuse socket. Make sure not to force them in, as they should pop into place easily. Before closing the plug door, double-check that both fuses are secure. They should be firmly in place in the grooves of the fuse socket.
After replacing the fuses, it’s time to test the Christmas lights to see if they are working properly. Plug the lights back into the outlet and check if they light up. If the lights still don’t work, there may be another issue causing the problem. Check the cords for any fraying, ensure all the bulbs are secured and working, and inspect the socket for any damage.
Expert Tip: Marvin Woo, Licensed Electrician
“When examining the fuses, it’s important to pay attention to any dark or burnt marks. These signs indicate that the fuse is burnt and needs to be replaced. Always use replacement fuses that have the same size, type, and rating as the original fuses to ensure the safety of your Christmas lights.”
Closing the Socket Door and Testing the Christmas Lights.
Now that you’ve replaced the old fuses with new ones, it’s time to securely close the socket door and test the Christmas lights. Let’s go through the final steps together.
First, ensure that the socket door is properly aligned with the grooves. You can use your fingernails to gently push it back into place, making sure it slides all the way down. If the door is difficult to close, you can use a small flathead screwdriver or kitchen knife to assist, but be cautious not to apply too much pressure to avoid damaging the socket or fuses.
Once the socket door is securely closed, it’s time to plug the Christmas lights back into the outlet. Make sure the socket door is closed properly, as you don’t want the fuses to become loose or fall out of place.
Now, turn on the switch to see if the Christmas lights are working. Ideally, the lights should light up, indicating that the new fuses are functioning correctly. If the lights still don’t work, there may be another issue at hand, such as frayed cords, faulty bulbs, or a problem with the socket itself. You can refer to the previous sections of this article for troubleshooting tips.
By following these steps, you’ve successfully replaced the fuse in your Christmas lights and tested them to ensure they’re working properly. Enjoy the festive glow of your holiday decorations knowing that you’ve resolved any issues with the fuses.
| Step | Description |
|---|---|
| 1 | Align the socket door with the grooves and slide it closed. |
| 2 | Plug the Christmas lights back into the outlet. |
| 3 | Turn on the switch to test if the lights are working. |
Conclusion
Congratulations! You’ve successfully replaced the fuse in your Christmas lights and restored their twinkling glory. By following the step-by-step guide and taking necessary precautions, you were able to troubleshoot and replace the blown fuses, ensuring that your lights are safe and working properly.
If you encounter any further issues with your Christmas lights, don’t hesitate to consult our troubleshooting tips and guides. It’s always important to address any electrical problems promptly and seek professional assistance if needed. Remember, safety should be your top priority when working with electrical devices.
As the holiday season approaches, enjoy the warm and festive ambiance created by your beautifully lit Christmas lights. Whether you’re decorating your tree, adorning your home, or spreading holiday cheer, the joy of twinkling lights adds an extra touch of magic to the season. Happy holidays and may your Christmas be filled with light and laughter!
FAQ
Q: How do I replace a fuse in Christmas lights?
A: To replace a fuse in Christmas lights, start by unplugging the lights and locating the male sockets. Open the socket door to access the fuses and remove the old fuses. Examine the fuses to see if they are burnt, and if they are, replace them with new ones of the same rating. Close the socket door, plug the lights back in, and test them to see if they are working.
Q: How can I tell if a fuse is blown in Christmas lights?
A: You can tell if a fuse is blown in Christmas lights by visually inspecting it for dark burn marks or by using a multimeter to check for continuity. If the fuse appears dark or the multimeter does not register anything, it is likely blown and needs to be replaced.
Q: Where can I find replacement fuses for Christmas lights?
A: Replacement fuses for Christmas lights are often included with the lights when purchased. They may be in little plastic bags taped to the light set. If you have lost the fuses, you can try finding them at an electronics store that specializes in Christmas lights or electrical repairs.
Q: What should I do if my Christmas lights still don’t work after replacing the fuses?
A: If your Christmas lights still don’t work after replacing the fuses, there may be another issue at play. Check the cords for any fraying, make sure all the bulbs are secured and working, and ensure that the socket is in good shape. It is also a good idea to consult a licensed electrician if you are unsure or need further assistance.
Q: Should I unplug the Christmas lights before replacing the fuses?
A: Yes, it is always recommended to unplug the Christmas lights before replacing the fuses. This ensures your safety and prevents the risk of electrocution or damage to the lights.
